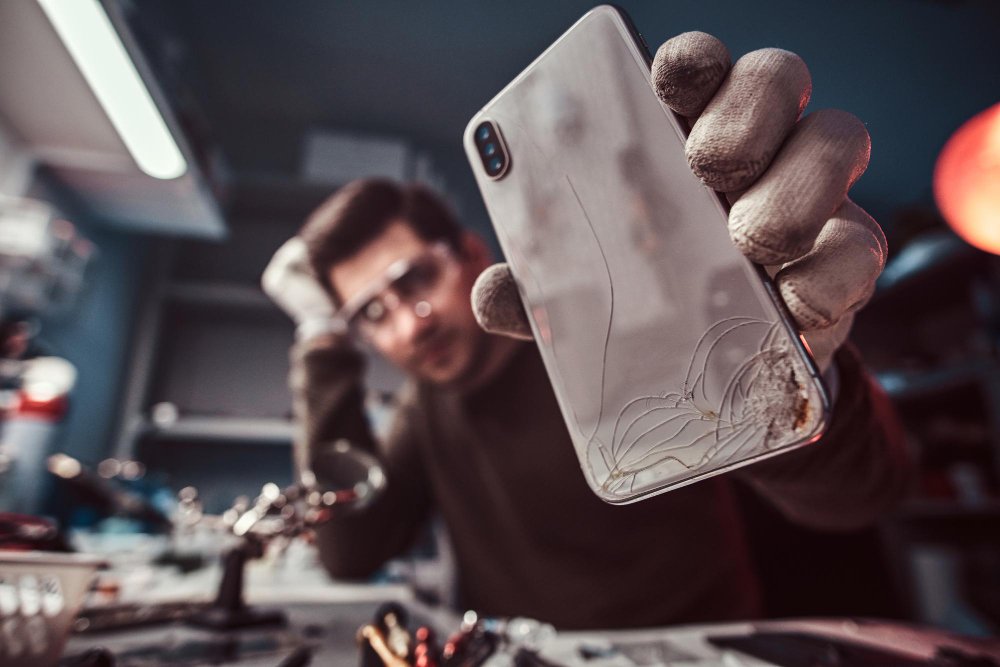
Accidents happen, and one of the most common mishaps with mobile phones is a cracked back glass. Not only does it affect the aesthetics of your device, but it can also compromise its functionality and even lead to further damage. While it may seem like a daunting task, fixing a cracked mobile phone back glass can be done at home with a few simple steps. In this article, we will guide you through the process of repairing your phone’s back glass on your own.
1. Gather the necessary tools
Before you begin the repair process, make sure you have all the tools you need. These typically include:
- Protective gloves
- Tweezers
- Heat gun or hairdryer
- Isopropyl alcohol
- Microfiber cloth
- Adhesive
- Replacement back glass
2. Prepare your workspace
Find a clean and well-lit area to work in. Make sure you have ample space to lay out your tools and place your phone. It’s also a good idea to cover your work surface with a soft cloth or towel to prevent any scratches or damage to the phone or its back glass.
3. Remove the cracked back glass
Start by powering off your phone and removing the SIM card tray, if applicable. Use a heat gun or hairdryer to gently warm the back glass. This will soften the adhesive and make it easier to remove. Be careful not to overheat the glass or the phone.
Once the glass is warm, use a pair of tweezers to carefully lift the cracked glass away from the phone. Take your time and be gentle to avoid any further damage.
4. Clean the phone and new back glass
With the cracked glass removed, it’s important to clean both the phone and the new back glass thoroughly. Dampen a microfiber cloth with isopropyl alcohol and wipe down the phone’s back surface to remove any residue or adhesive. Similarly, clean the new back glass to ensure a proper bond.
5. Apply adhesive and attach the new back glass
Apply a thin layer of adhesive to the back surface of the phone. Be sure to follow the instructions provided with the adhesive for the best results. Carefully align the new back glass with the phone and press it firmly into place. Apply gentle pressure for a few minutes to ensure a secure bond.
6. Let the adhesive cure
After attaching the new back glass, allow the adhesive to cure for the recommended time. This can vary depending on the adhesive used, so be sure to check the instructions. Avoid using or handling the phone during this time to ensure a proper bond.
7. Test and reassemble
Once the adhesive has cured, power on your phone and test its functionality. Check if the back glass is securely attached and if all features are working properly. If everything looks good, you can reassemble any additional components, such as the SIM card tray, and start using your phone again.
It’s important to note that fixing a cracked mobile phone back glass requires patience and precision. If you’re unsure about any step of the process, it’s always recommended to seek professional help or take your phone to a repair center. Additionally, if your phone is still under warranty, attempting to repair it yourself may void the warranty.
By following these steps, you can save money and restore the appearance of your mobile phone by fixing a cracked back glass on your own. Remember to take your time, be careful, and always prioritize safety during the repair process.


